How to Setup Products in Amazen Blogger Template
Adding product information is quick and easy! You just need to carefully follow the steps below.
1. Basic Steps
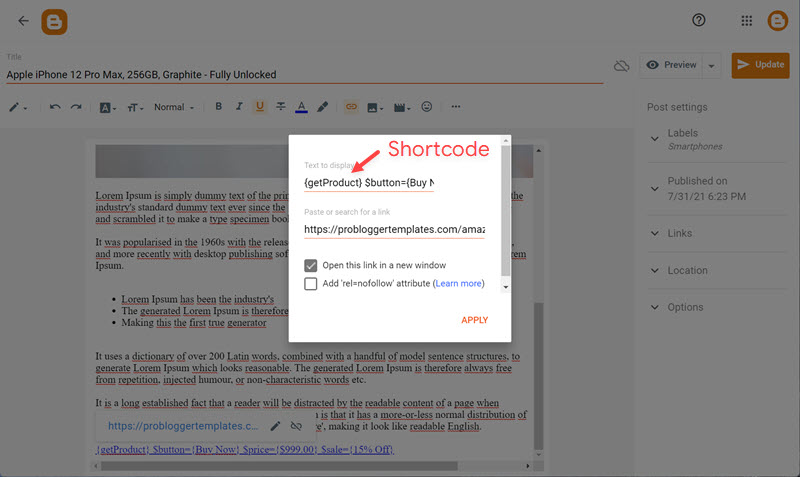
Step 1: Add a product link anywhere within the post.
Step 2: Replace the link text with the shortcode below with the desired attributes.
2. The Shortcode
Shortcode: {getProduct} $button={Button Text} $price={Product Price} $sale={Product Offer} $free={It is Free?} $icon={Icon Name} $style={Style Options}
Free Attribute: yes or no
Icon Attribute: cart, download, paypal, whatsapp or gift
Style Options: 1, 2 or 3
Style 1 – It will display the Call to Action inside the post and in the sidebar.
Style 2 – Will display the Call to Action only inside the post.
Style 3 – It will display the Call to Action only in the sidebar.
3. Link Settings
4. Common Examples
Below are some amazing examples you can use to configure your products.
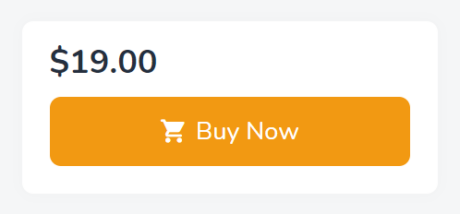
Standard: {getProduct} $button={Buy Now} $price={$19.00}
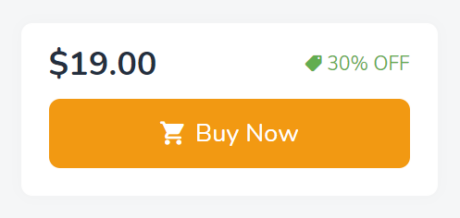
With Discount: {getProduct} $button={Buy Now} $price={$19.00} $sale={30% Off}
{getProduct} $button={Buy From Amazon} $price={₹25,990} $sale={30% Off}
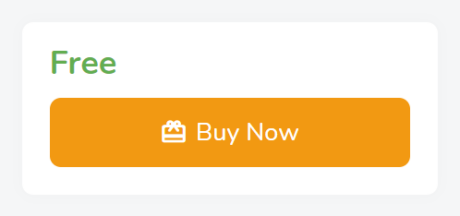
Free: {getProduct} $button={Buy Now} $price={Free} $free={yes} $icon={gift}
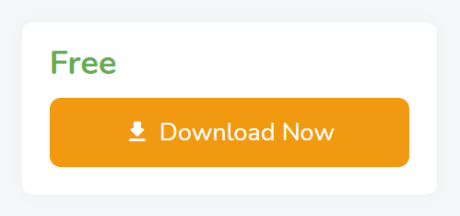
Downloadable: {getProduct} $button={Download Now} $price={Free} $free={yes} $icon={download}
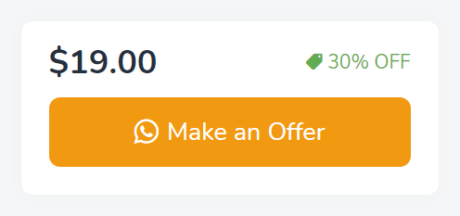
Buy on Whatsapp: {getProduct} $button={Make an Offer} $price={$19.00} $sale={30% Off} $icon={whatsapp}


Live Streaming on Blogspot Livepmtv
Livepmtv Blogspot
website tamp lonk please
This comment has been removed by the author.