SoraMart empowers users to build professional e-commerce websites on the Blogger platform with ease."
SoraMart is a versatile blogger template tailored for e-commerce websites. With its responsive design and SEO-friendly features, it offers a clean and modern layout, customizable colors and fonts, a product slider, grid-based product listings, and a multi-level drop-down menu. It also integrates social media icons and a newsletter subscription form to enhance customer engagement.
This premium template ensures a seamless online store creation process, and it can be obtained without footer links. It boasts a range of key features, including responsiveness across various devices, search engine optimization, e-commerce readiness, extensive customization options, social media integration, and newsletter subscription capabilities.


Read More Details (Official Site)
-----------------------------------------------------------------------------------------------------------------------
HOW TO SETUP PRODUCTS - ON SORAMART BLOGGER TEMPLATE
Post Layouts
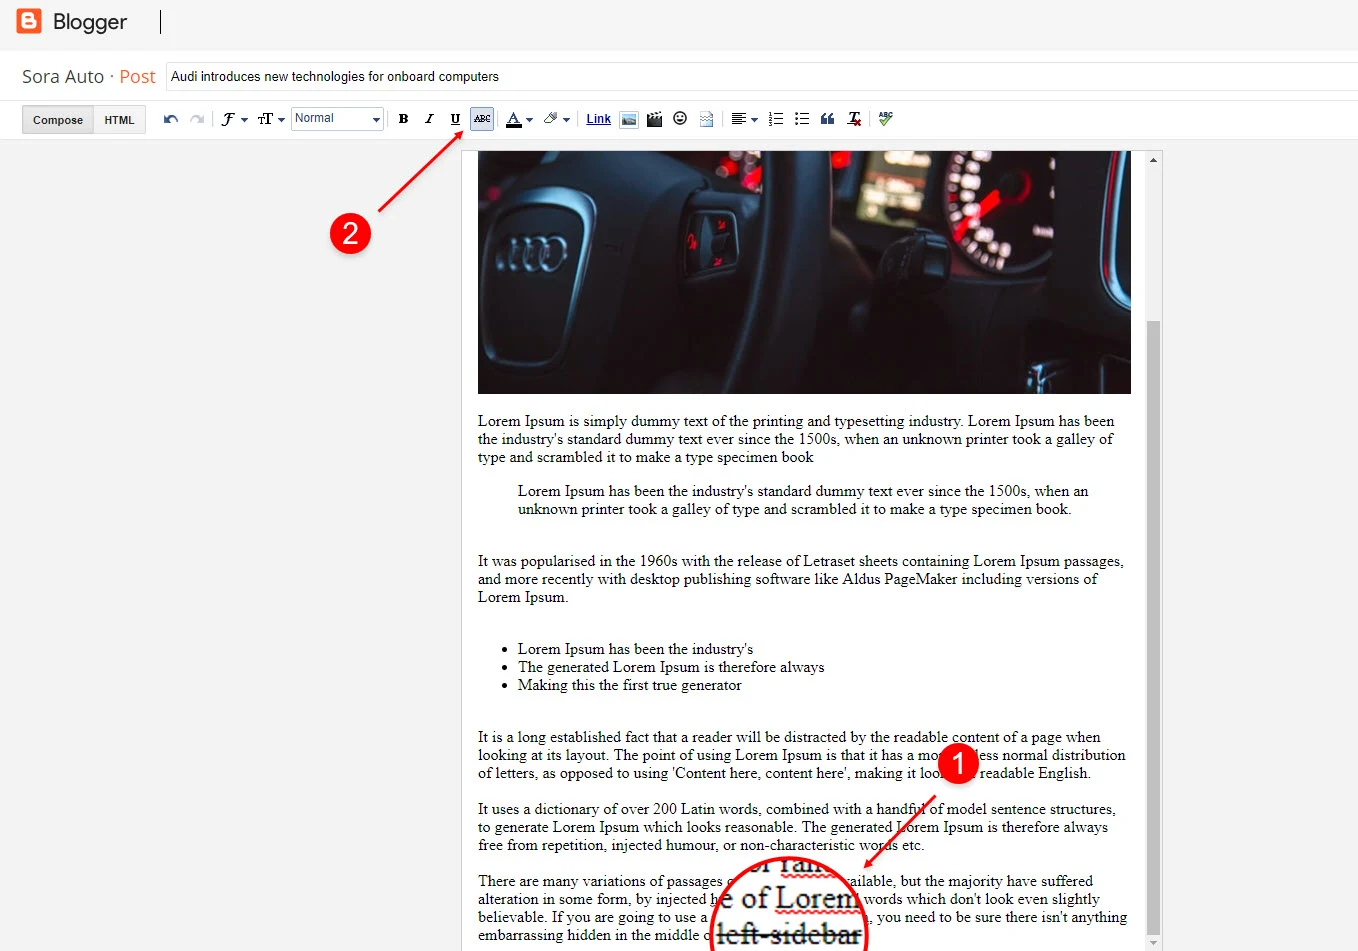
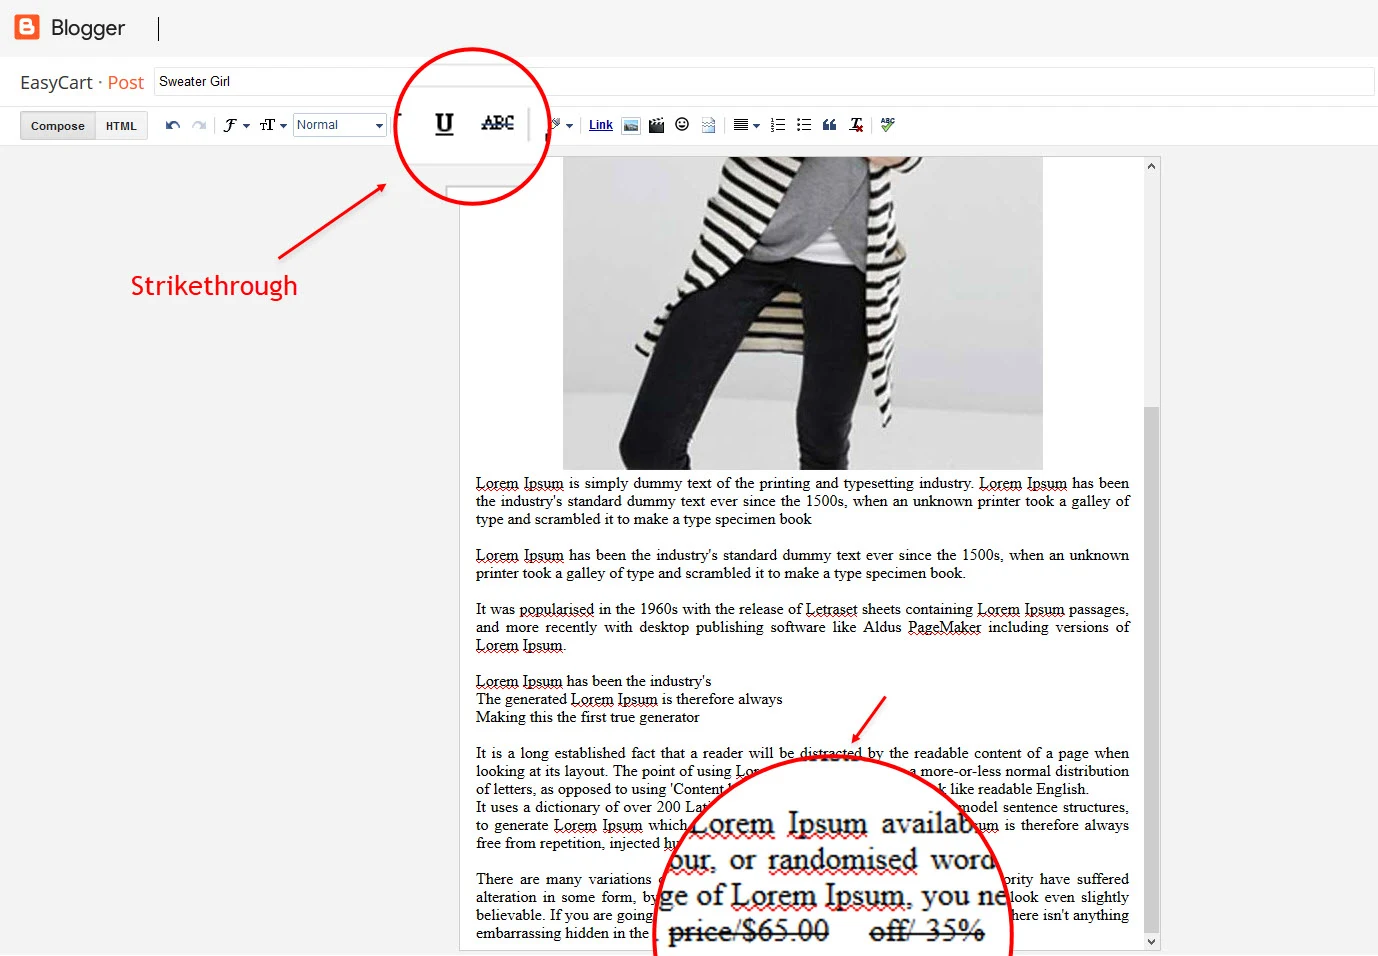
Product Price, Discount and Size
Discount Shortcode: off/"Your Product Price"
Size Shortcode: size/"Your Product Size 1"/"Your Product Size 2"/"Your Product Size 3"
Price EX: Inside the post add the text price/$59.00 and add the style
Size EX: Inside the post add the text size/35/36/37 and add the style
Cart Page
Note:- the cart page will not work if you don't put the title correctly, after adding the title your page link must look like this.
https://sora-cart-soratemplates.blogspot.com/p/cart.html
or
https://www.xyz.com/p/cart.html
Checkout Page
Note:- the checkout page will not work if you don't put the title correctly, after adding the title your page link must look like this.
https://sora-cart-soratemplates.blogspot.com/p/checkout.html
or
https://www.xyz.com/p/checkout.html
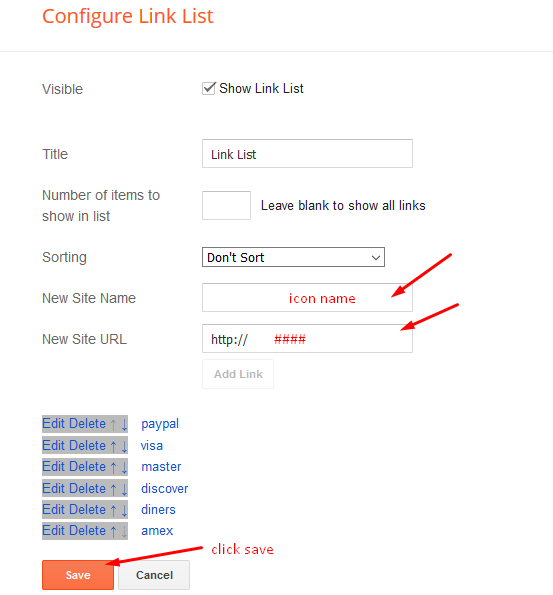
Credit Cards Icons
Theme Options
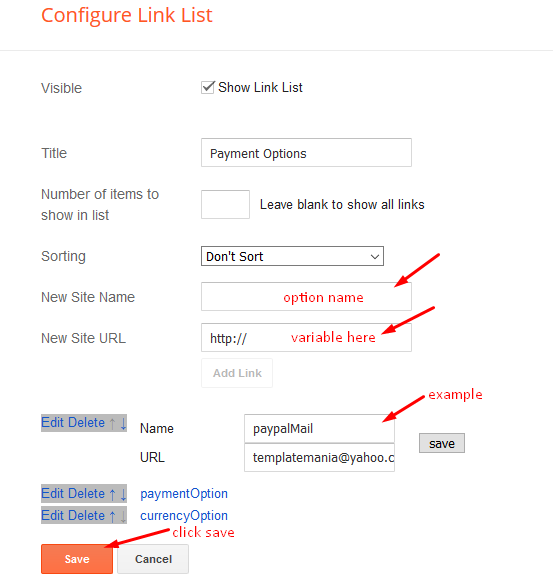
01 - Payment Options
"USD" - Currency Name ("US Dollar")
"AUD" - Currency Name ("Australian Dollar")
"BRL" - Currency Name ("Brazilian Real")
"CAD" - Currency Name ("Canadian Dollar")
"CZK" - Currency Name ("Czech Koruna")
"DKK" - Currency Name ("Danish Krone")
"EUR" - Currency Name ("Euro")
"HKD" - Currency Name ("Hong Kong Dollar")
"HUF" - Currency Name ("Hungarian Forint")
"ILS" - Currency Name ("Israeli New Sheqel")
"JPY" - Currency Name ("Japanese Yen")
"MXN" - Currency Name ("Mexican Peso")
"NOK" - Currency Name ("Norwegian Krone")
"NZD" - Currency Name ("New Zealand Dollar")
"PLN" - Currency Name ("Polish Zloty")
"GBP" - Currency Name ("Pound Sterling")
"SGD" - Currency Name ("Singapore Dollar")
"SEK" - Currency Name ("Swedish Krona")
"CHF" - Currency Name ("Swiss Franc")
"THB" - Currency Name ("Thai Baht")
"BTC" - Currency Name ("Bitcoin")
"INR" - Currency Name ("Indian Rupee")
A) - Upi Options

B) - Bank Details
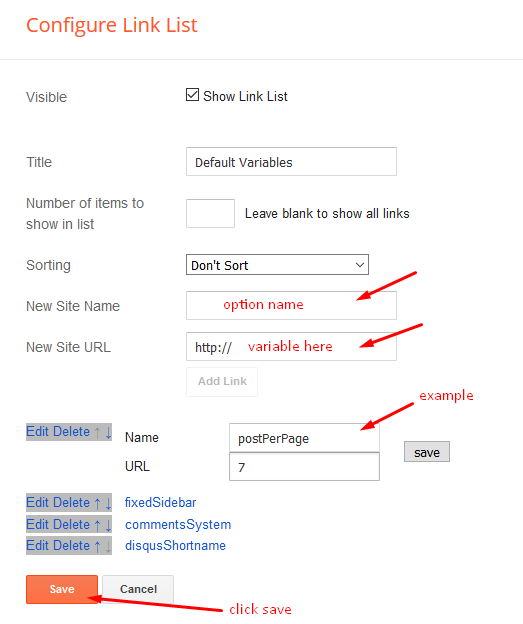
In New Site Name add Your Bank Details, in New Site URL add Your Bank Detail Values, after click on save button.

02 - Boxed Version

03 - Default Variables

tumko bhai google ads ka approvel nahi mila kya es free blogger site per
bhai main approval liya hi nahi hoon
Affiliate website pr adsense approval mil skta hai?
Haan sir, mil jata hai ab